When Zoho CRM was named one of the Top 3 CRM Softwares for small businesses we knew we needed to develop an integration with them. They throw a lot of love to start-ups with their free offering, allowing them to do the same thing the big guys are doing. We’re all in it together.
Zoho CRM allows you to gather leads, manage your sales pipeline, and turn your opportunities into sales. What Blitzen does is push enriched contact data into Zoho. We know manual data entry sucks. With this integration all you do is automate a workflow and wait for the leads to come to you.
How it’s done in Blitzen – Step by step guide
Connect your Zoho CRM Account to Blitzen
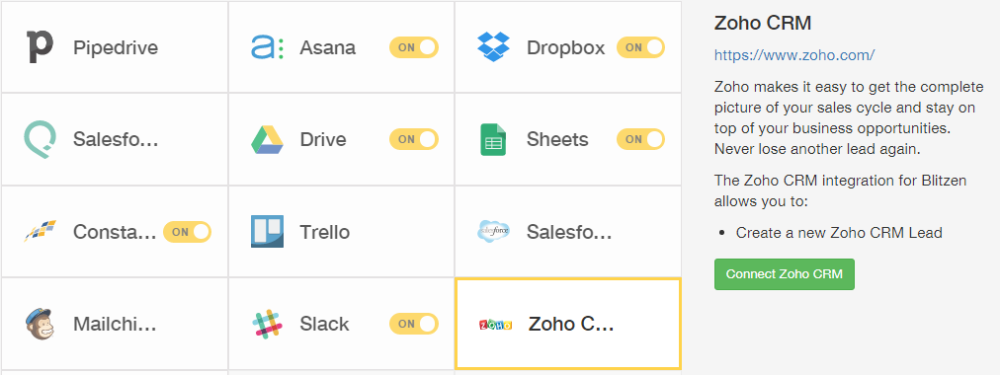
Navigate to the ‘Integrations’ section in the left-side panel and click on the ‘Zoho CRM’ app.
Click ‘Connect’ in the right-side panel.

You will be directed to log in with your existing credentials and asked to give Blitzen permission to access the app. Don’t worry, we won’t mess with the stuff that’s already there!
Make sure that the app is on by moving the app slider to ‘On’

If, for any reason, you would like to disable this app, just move the slider to ‘Off’ or disconnect it all together (How to Disconnect an Application).
Create a Workflow with the Zoho CRM App
Navigate to the ‘Workflow’ section in the left-side panel and create a new workflow (How to Create Workflow). You can also edit an existing workflow.
Choose a form or survey to work from (How to Choose an Input). The only type of form you can use the Zoho CRM App with is one that contains the ‘Name’ field, but we recommend asking for at least one more piece of contact information (like an email) to strengthen your CRM.
Configure Zoho CRM
Drag the Zoho CRM App over into your workflow. You can configure the app by clicking the ‘+’ icon.

From here you will see a number of options.
The default setting is to sync all submissions from the input form or survey. If the default is what you wish to do skip the‘Filters’ section.
Filters
If you want to segment submissions, simply add filters. Click ‘Add custom filter’ and use the three fields to create a segment.
You are able to create any number of filters, just make sure they do not contradict each other.
To delete a filter simply click on the ‘x’ icon in the right corner.
You will then be asked to choose the destination of where your files will sync to.
Actions
In this sections you will be able to map the fields from your form to fit Zoho CRM categories. Use the drop-downs to fill in as much information as you can.

The changes will auto save and now every time someone fills in your form a lead will be auto-generated in your Zoho CRM.

If you’re using Zoho, we strongly urge you to give this a try! For any questions, shoot us an email at support@blitzen.com or leave your feedback in the comments below.

